
Mastering Installation: Tips and Techniques for Optimal Performance with Chipboard Screws
2024-03-11
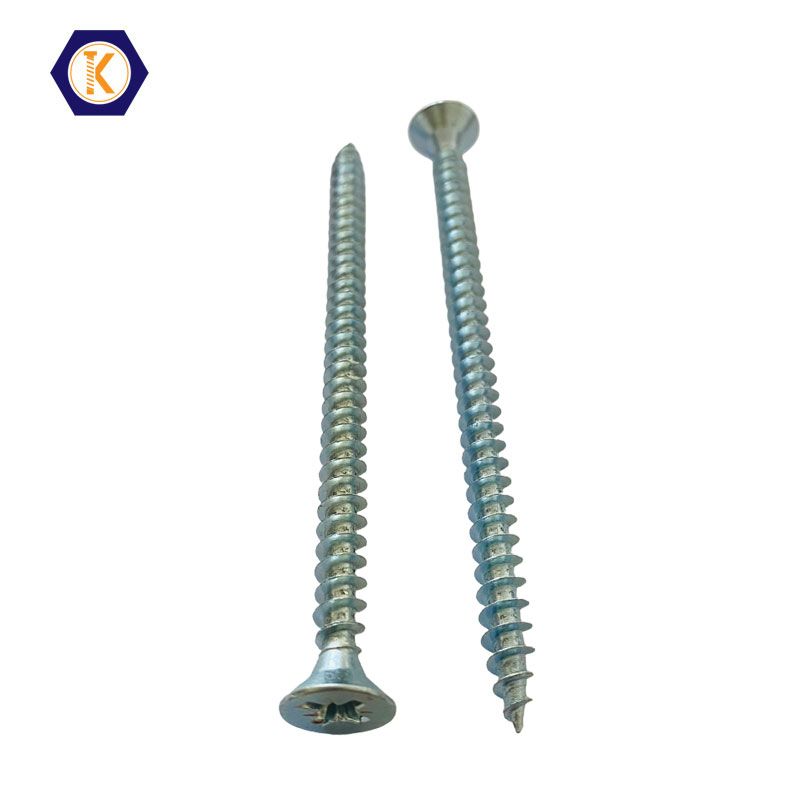
Chipboard screws are invaluable fasteners in woodworking, construction, and DIY projects, offering reliable and efficient means of securing materials together. While these screws are versatile and straightforward to use, mastering the installation process can enhance their performance and ensure the longevity of your projects. Let's explore some specific installation tips and techniques recommended for achieving optimal results with chipboard screws.
1. Choose the Right Screw Size and Length: Selecting the appropriate size and length of chipboard screws is essential for achieving optimal performance. Ensure that the screws penetrate the entire thickness of the material without protruding excessively. Using screws that are too short may not provide sufficient grip, while screws that are too long can risk damaging the material or protruding through the surface.
2. Pre-Drilling Pilot Holes, if Necessary: In hardwoods or dense materials, pre-drilling pilot holes can help prevent splitting or cracking and facilitate smoother insertion of chipboard screws. Use a drill bit that matches the diameter of the screw's shaft and drill to a depth slightly shorter than the length of the screw. This ensures a snug fit and minimizes the risk of over-tightening.
3. Adjust Power Tool Settings: When using power tools such as cordless drills or impact drivers to drive chipboard screws, adjust the torque settings to match the recommended torque range for the screws. Start with lower torque settings and gradually increase as needed to avoid overtightening or stripping the threads. Setting the torque too high may risk damaging the material or the screw itself.
4. Use Proper Driving Technique: Apply steady and even pressure when driving chipboard screws into the material. Avoid tilting the screwdriver or drill at an angle, as this can cause the screw to bind or strip the threads. Keep the screwdriver or drill perpendicular to the surface and engage the screw slowly and steadily until it is fully seated.
5. Avoid Over-Tightening: Over-tightening chipboard screws can lead to damage to the material or the screw itself, compromising the integrity of the joint. Use caution and stop driving the screw once it is snugly seated and flush with the surface. If necessary, use a torque-limiting screwdriver or power tool to prevent over-tightening and ensure consistent results.
6. Inspect and Test Fit: Before driving chipboard screws into the material, conduct a test fit to assess the torque requirements and ensure proper alignment. This involves temporarily positioning the screws in the desired locations and testing the torque settings to determine the optimal level for driving the screws without damaging the material or compromising the integrity of the joint.
7. Consider Environmental Factors: Take into account environmental factors such as temperature, humidity, and exposure to moisture when installing chipboard screws. Moisture can cause wood to swell or shrink, affecting the tightness of the screws over time. Use corrosion-resistant chipboard screws for outdoor applications or in high-moisture environments to ensure long-lasting performance.
8. Follow Manufacturer Recommendations: Lastly, always follow the manufacturer's recommendations and guidelines for installing chipboard screws. Manufacturers often provide specific instructions and torque specifications based on extensive testing and engineering analysis. Adhering to these recommendations ensures that you achieve optimal performance and reliability with your chipboard screws.
By following these installation tips and techniques, you can master the art of installing chipboard screws with precision and confidence. Whether you're a professional tradesperson or a DIY enthusiast, incorporating these best practices into your projects will help you achieve optimal results and ensure the longevity and durability of your woodworking, construction, or DIY endeavors.