

Top Steel Purlin Choices for Stronger Building Frameworks
2026-11-02
Getting the framework right starts with the purlins you choose—and not all steel is created equal. Whether you're comparing C, Z, or sigma profiles, coating thickness, or tensile strength, the details matter more than most builders expect. This guide cuts through the noise to highlight the steel purlin options that actually deliver long-term structural integrity. And if you're sourcing materials, LANYUN has become a go-to for professionals who refuse to compromise on load-bearing performance.
C-Purlins Are Still the Workhorse of Steel Framing — Here’s Why
Walk onto almost any metal building site and you’ll see them stacked in neat bundles, their familiar C-shaped profiles catching the morning light. C-purlins have been holding up roofs and walls for decades, and they show no sign of stepping aside. The reason is simple: they do the job without fuss. A cold-formed C-purlin delivers an impressive strength-to-weight ratio, which means fewer columns, lighter foundations, and faster erection times. When a contractor needs to span a bay and support metal cladding, this is the section that comes to mind first—not because it’s trendy, but because it has proven itself thousands of times over.
What keeps C-purlins at the top isn’t just raw strength; it’s how easily they adapt to the unexpected. Openings for skylights, changes in roof slope, last-minute equipment loads—c-purlins handle these revisions with a simple bolted connection or a reinforced lap. Steel fabricators can punch holes in the web for electrical conduits without compromising the section’s integrity, something you can’t always do with heavier hot-rolled shapes. And because they nest together for shipping, a full truckload of C-purlins takes up a fraction of the space of comparable structural members, shrinking freight costs and cutting down on site congestion.
Any honest builder will tell you that the best material is the one that doesn’t create surprises. C-purlins have predictable load tables, widely available galvanized coatings, and a supply chain that rarely stumbles. Whether the project is a warehouse in a coastal climate or an agricultural shed in the high desert, the same section can be specified with minimal fuss. Sure, there are newer framing systems making noise, but none have matched the pure practicality of a cold-formed C. That’s why the workhorse remains in the stable.
The Overlap Design in Z-Purlins That Reduces Mid-Span Deflection
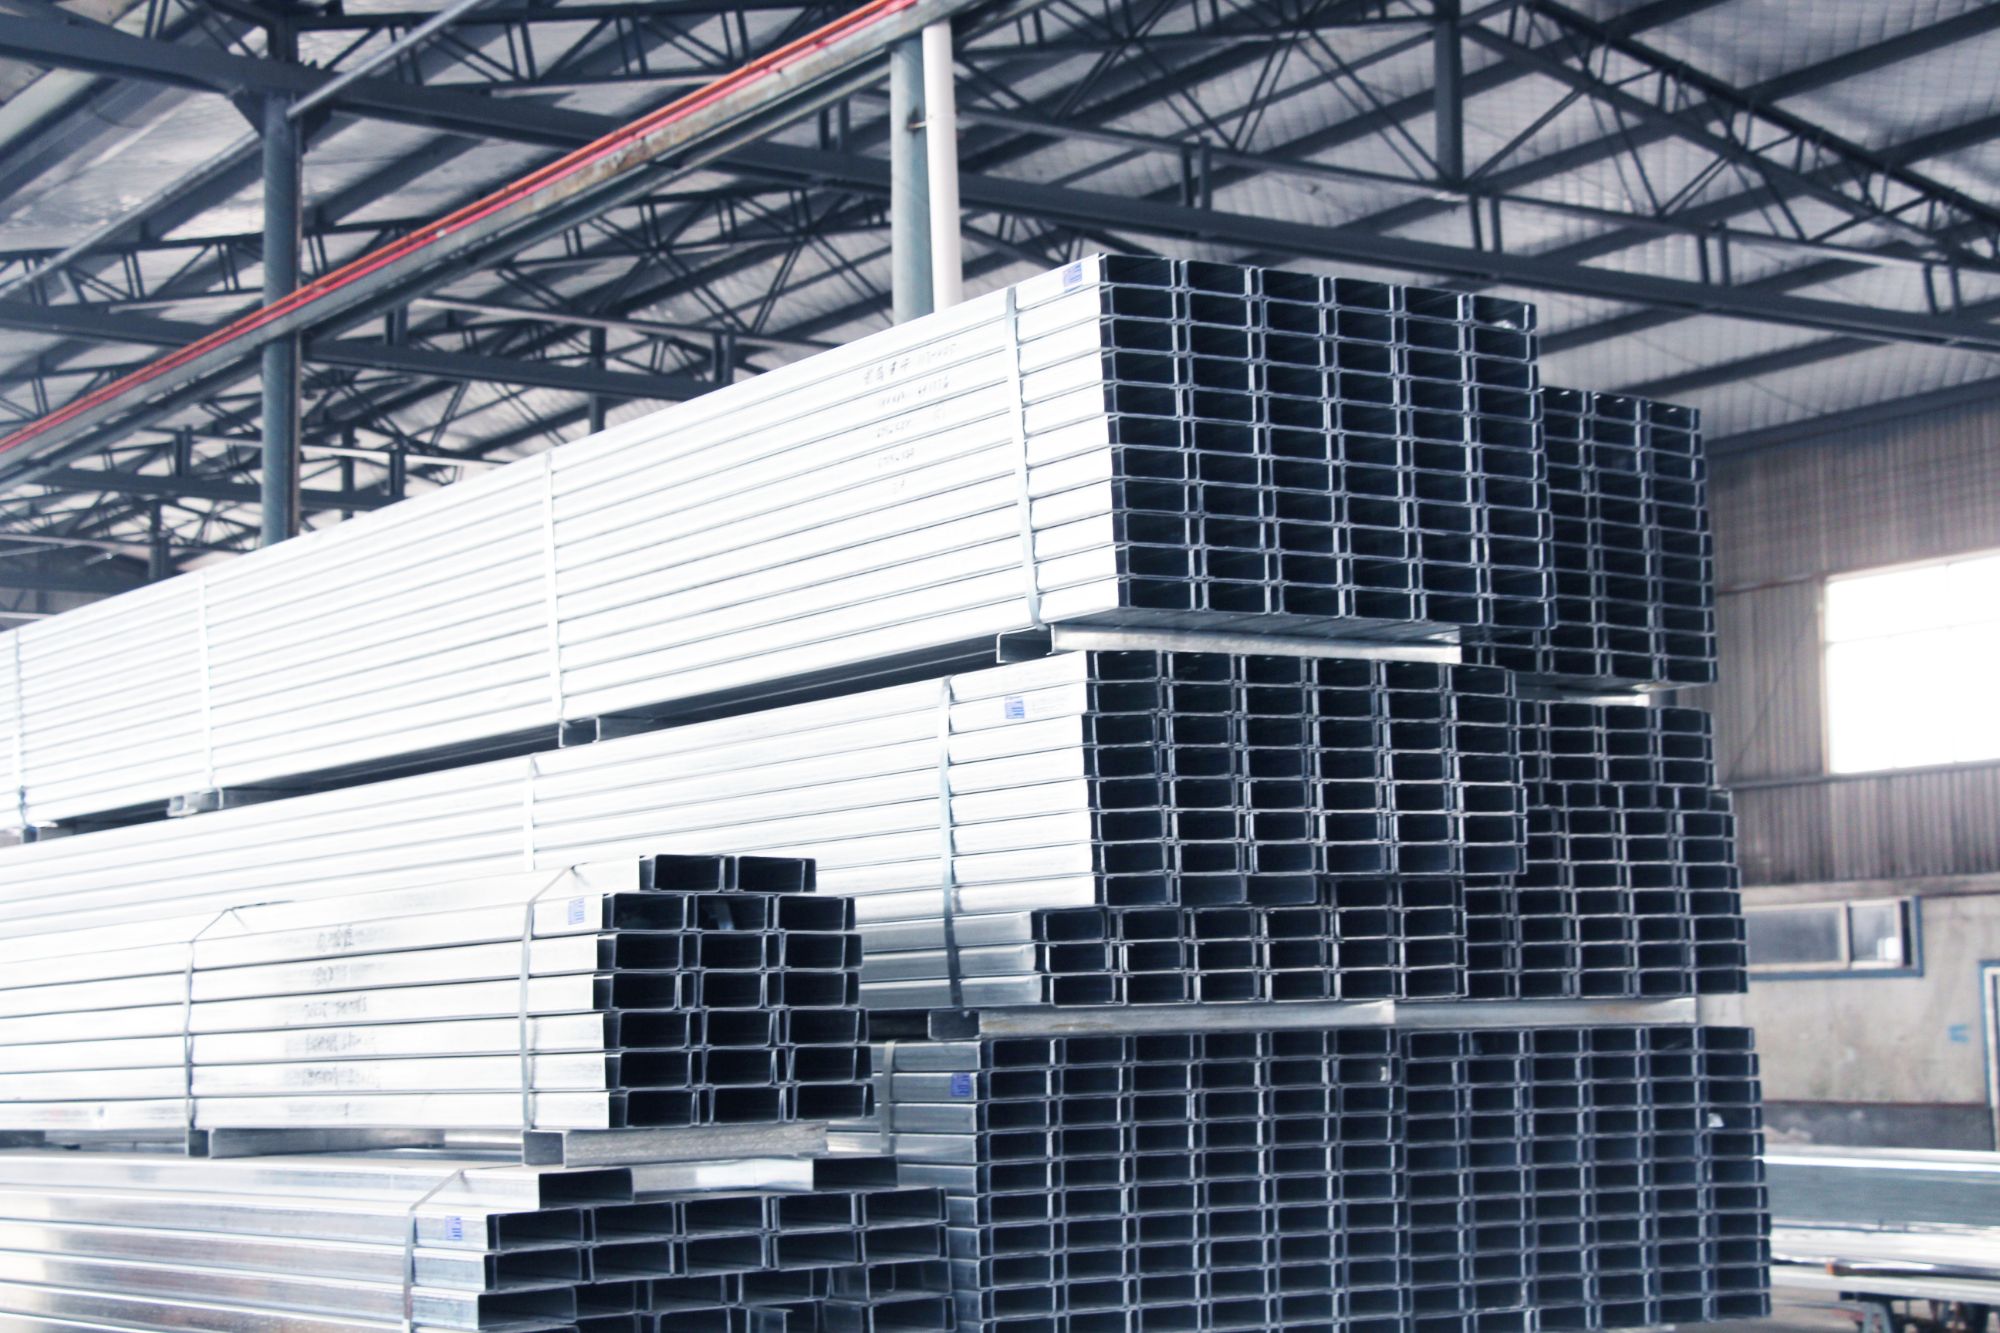
In typical Z-purlin systems, the purlins are lapped over the supports rather than butt-cut. This overlap changes how bending moments distribute along the span. Instead of behaving as a series of simply supported beams, the lapped connection develops a degree of rotational restraint and moment transfer at the support. The result is a significant reduction in the positive moment near mid-span, which directly lowers the deflection seen under service loads.
The key lies in the interaction between the nested Z-sections. When two purlins overlap, the bolts create a friction grip and a mechanical interlock over a set length. This allows the pair to act partially as a continuous member. By shifting the inflection points away from the support and reducing the effective simply supported span, the mid-span deflection drops noticeably compared to a non-lapped arrangement of the same section size.
Field measurements and comparative tests often show that a standard overlap length—typically around 10% to 15% of the span—can cut mid-span deflection by 20% to 30% when compared with single-span purlins of identical gauge and depth. This benefit becomes more pronounced in long-span applications or when the purlin is lightly loaded, allowing designers to either use a lighter section or achieve a flatter roof line without additional framing.
How Much Zinc Does Your Galvanized Purlin Actually Need
The zinc layer on a galvanized purlin isn't just a finish; it's the first line of defense against moisture, condensation, and the slow creep of rust. A common mistake is assuming that any shiny surface offers equal protection. In practice, coating weight matters more than appearance. For most agricultural and light industrial buildings, a G60 coating (0.60 oz/ft² total both sides) can work, but once the structure faces coastal air, chemical exposure, or frequent wet-dry cycles, stepping up to G90 or even G115 makes a measurable difference in lifespan.
Rather than guessing, look at the expected service environment and how often maintenance will realistically happen. A purlin buried inside a well-ventilated attic may never need more than the minimum, while one sitting under metal roofing in a humid region can lose zinc faster than design tables suggest. If you're choosing between two quotes, ask for the actual coating designation, not just the base steel thickness. That single number often determines whether you're replacing purlins in 15 years or 40.
Cold-Formed vs Hot-Rolled Purlins and What Load Tables Miss
The choice between cold-formed and hot-rolled purlins often comes down to project-specific demands that standard load tables rarely capture. Cold-formed sections, shaped from thin steel sheet at ambient temperature, offer a high strength-to-weight ratio and can be produced in long, continuous lengths with minimal waste. Hot-rolled purlins, by contrast, are formed at elevated temperatures, resulting in thicker webs and flanges that better resist local buckling under concentrated loads. Yet load tables typically present uniform load capacities and simple span conditions, leaving out how these two types behave under real-world eccentric loading, connection slip, or partial restraint from roof sheathing.
One overlooked factor is the influence of residual stresses and cold-working on member stiffness. Cold-formed purlins gain yield strength through work hardening at corners, but this benefit is not uniform across the section. Hot-rolled shapes have more predictable stress distributions but carry higher self-weight and often require more substantial connection detailing. Load tables also ignore the effect of web crippling at supports, which can govern the design of thin cold-formed webs even when bending capacity appears adequate. Furthermore, the tables seldom account for the rotational flexibility of purlin-to-rafter connections, a variable that can shift the actual bending moment diagram away from the assumed simply supported case.
In practice, the decision between cold-formed and hot-rolled purlins should be driven by considerations beyond the printed numbers. Cold-formed sections excel in low-rise buildings with light cladding and repetitive framing, where speed of erection and reduced dead load matter. Hot-rolled purlins remain a better fit for heavy industrial roofs, areas with high point loads from suspended equipment, or corrosive environments where thicker material allows for corrosion allowance without compromising strength. Engineers who rely solely on load tables may miss these nuanced trade-offs, leading to either over-conservative designs or unexpected serviceability issues such as excessive deflection or local buckling not captured by simplified charts.
Bridging Details That Stop Purlin Twist Before It Starts
Purlin twist rarely shows up as a sudden failure; it begins as a slow rotation under load when the top flange wants to move laterally. Bridging rows break that rotation by tying adjacent purlins together, but the detail that actually stops twist is the connection between bridging and purlin web—especially whether the bridging member is set square to the purlin and fixed with enough bolts or clips to resist eccentric loading. If the bridging only braces the bottom flange or is spaced too far from the supports, the purlin still has room to roll before the brace engages.
A common field fix is to install bridging before roof sheeting goes on, and to align the bridging members so they form a continuous line across the bay. That continuity lets one purlin borrow stiffness from its neighbors instead of fighting twist alone. For heavier sections or long spans, double bridging near midspan and a positive connection at each purlin—not just a friction fit—will keep the flanges from rotating out of plane. Once the roof is loaded, twisted purlins are much harder to correct, so getting these details right early costs far less than straightening steel later.
Purlin Spacing Errors That Quietly Weaken Roof Frameworks
Most roof failures tied to purlin layout don't announce themselves with a loud crack. They start as a subtle deflection near mid-span, often where a purlin was nudged a few inches off layout to dodge a vent pipe or a crooked rafter tail. That extra distance between supports raises bending stress faster than most carpenters expect—doubling the span doesn't double the stress, it squares the moment. A 24-inch spacing pushed to 30 inches can turn a comfortable safety margin into a long-term creep problem, especially under wet snow or re-roofing loads.
Another quiet killer is mixing spacing logic between rafter systems and purlin systems. On some jobs, the purlins get set at equal centers measured along the roof slope, but the load path actually follows the horizontal projection. A 5/12 pitch makes a 24-inch slope spacing cover only about 22 inches horizontally, which sounds conservative—until someone flips the numbers and spaces purlins 24 inches horizontally, stretching the slope distance to 26 inches. Repeated across an entire roof, that error shifts each purlin farther from its sheathing fastening pattern and leaves edges unsupported in ways that don't show up until the first wind uplift test.
Connection sloppiness compounds the problem. A purlin that's correctly spaced but secured with toenails that split the outer thirds of its grain, or with hangers that don't bear fully on the top flange, acts like a weaker member. Over time, the small gaps close and reopen with seasonal moisture cycling, working nails loose and inviting localized sag. The roof still looks fine from the ground, but under a point load—a worker's foot or a stack of shingles—the framework flexes far more than it should, and that's where ridge lines begin to wave.
FAQ
Z purlins can be nested and lapped at the supports, creating a continuous structural member that handles greater loads without needing a much heavier profile. C purlins work fine for shorter, simply supported spans, but they lose efficiency once the span increases because each member acts independently.
The coating does not directly increase tensile strength, but it preserves the steel section by slowing corrosion. A Z275 or G90 coating will keep the purlin's cross-section intact much longer in humid or coastal exposure, so the frame retains its designed load capacity instead of weakening as rust takes hold.
Standard 150mm C or Z purlins at 1.2 to 1.5 metre centres usually span 4.5 to 6 metres, depending on roof pitch, wind zone, and snow load. In low-load areas with close spacing you might push closer to 6.5 metres, but heavy snow or high wind reduces that significantly.
Cold-formed sections are lighter, have consistent thickness, and are designed for fast installation with pre-punched holes. They are ideal for metal-clad buildings. Hot-rolled angles or channels may be needed for unusually heavy point loads or industrial crane frames, but they add weight and fabrication cost.
The overlap zone at a support acts like a stiffened sleeve, reducing deflection and stress at the connection. A typical lap is 10% to 15% of the span, so a 6m span would have a 600mm to 900mm overlap. Too short a lap creates a weak hinge; too long wastes material.
Tighter spacing, such as 1.0 to 1.2 metres, reduces bending in the purlins and prevents roof panels from oil-canning or deflecting under foot traffic. Wider spacing up to 1.5 or 1.8 metres can work with deeper purlins, but you may need thicker roof sheets and closer panel fastening to maintain strength.
Touch up cut edges with a zinc-rich spray or paint, use galvanized or stainless fasteners, and avoid placing untreated steel directly against aluminium or copper. Adding a thin isolation tape between dissimilar metals and sealing lap joints with neutral-cure sealant keeps moisture out of the connection.
Often yes for small structures, but wall purlins mainly resist wind pressure while roof purlins carry dead load, snow, and maintenance loads. For larger spans or high-wind areas, roof purlins are usually one size deeper than wall purlins because gravity plus snow demands more section modulus.
Conclusion
C-purlins still do most of the heavy lifting in steel-framed buildings because they're straightforward to fabricate, align, and attach to roof sheeting. Their symmetric shape doesn't demand handed components, which cuts both material waste and erection time on site. Z-purlins become the better pick once you can run them continuously over two or more spans. The overlap at interior supports creates a stiffer joint that pushes deflection down without increasing steel weight—something a simple C-section can't match on longer bays. Galvanizing gets less attention than it should. For most enclosed structures, a G90 coating holds up fine, but if the building sits near salt spray or chemical exhaust, stepping up to G185 or specifying a zinc-aluminum alloy pays off years later when cut edges aren't bleeding rust.
Cold-formed purlins look great on paper because load tables promise exact allowable spans and uniform section properties. In reality, those tables assume full lateral restraint from the sheeting, which doesn't exist until every fastener is driven and the roof diaphragm is complete. Hot-rolled shapes resist twisting better but weigh more and often cost extra without adding usable strength. Bridging details get skipped too often; a line of angle or strap placed at mid-depth won't stop rotation, because it needs to pass through or near the shear center to actually brace the section. And purlin spacing errors are the quiet killer. Pushing from 5 feet to 6 feet on center usually doesn't cause immediate bending failure—it shows up as wavy roof lines, loose fasteners, and cracked clips after a few wind storms. Getting the spacing, bridging, and coating right from the start beats trying to fix all three later.
Contact Us
Contact Person: Nia
Email: [email protected]
Tel/WhatsApp: +86 18954360337
Website: https://www.sdppgi.com