

Soil Stabiliser for Unpaved Roads: How to Choose and Apply for Lasting Performance
2026-07-08
Unpaved roads are the lifelines of rural communities and industrial sites, yet they constantly battle erosion, dust, and rutting. Choosing the right soil stabiliser can mean the difference between a road that crumbles and one that lasts. MST offers advanced solutions that transform weak soils into durable, all-weather surfaces. But with so many products on the market, how do you select and apply the ideal stabiliser for lasting performance? In this guide, we’ll break down the key factors and proven techniques to help you make an informed decision and get the most out of your unpaved roads.
Key Factors for Choosing a Soil Stabiliser
The first thing to weigh up is the soil composition you're dealing with—clay behaves differently from sand, and silty soils present their own challenges. A stabiliser that works wonders on expansive clays might barely hold things together in granular ground. You'll want to look closely at the product's coverage rate and how it interacts with your particular soil type, because misjudging that can lead to costly rework down the line. It's not just about grabbing whatever's on the shelf; matching the chemistry to the mineral makeup is half the battle.
Performance under real-world conditions matters far more than a polished brochure. Think about your local climate and typical moisture levels, because some stabilisers lose effectiveness when the weather turns sour. You should also factor in how soon the treated soil needs to bear weight—some options cure overnight, while others require a patient hand and several days of curing. Any trustworthy supplier will have independent test results or field data that show how their product holds up, so don't be shy about asking for proof.
Finally, it's worth considering the broader impact of your choice, because a cheap upfront price rarely tells the whole story. Look at the long-term durability, maintenance needs, and any environmental implications that might affect your project down the track. Sometimes paying a little more at the start saves a fortune in repeated repairs or compliance headaches later on. The right stabiliser should feel like a practical partner to your soil, not a temporary fix that you'll need to babysit for years.
Types of Stabilisers and Their Mechanisms
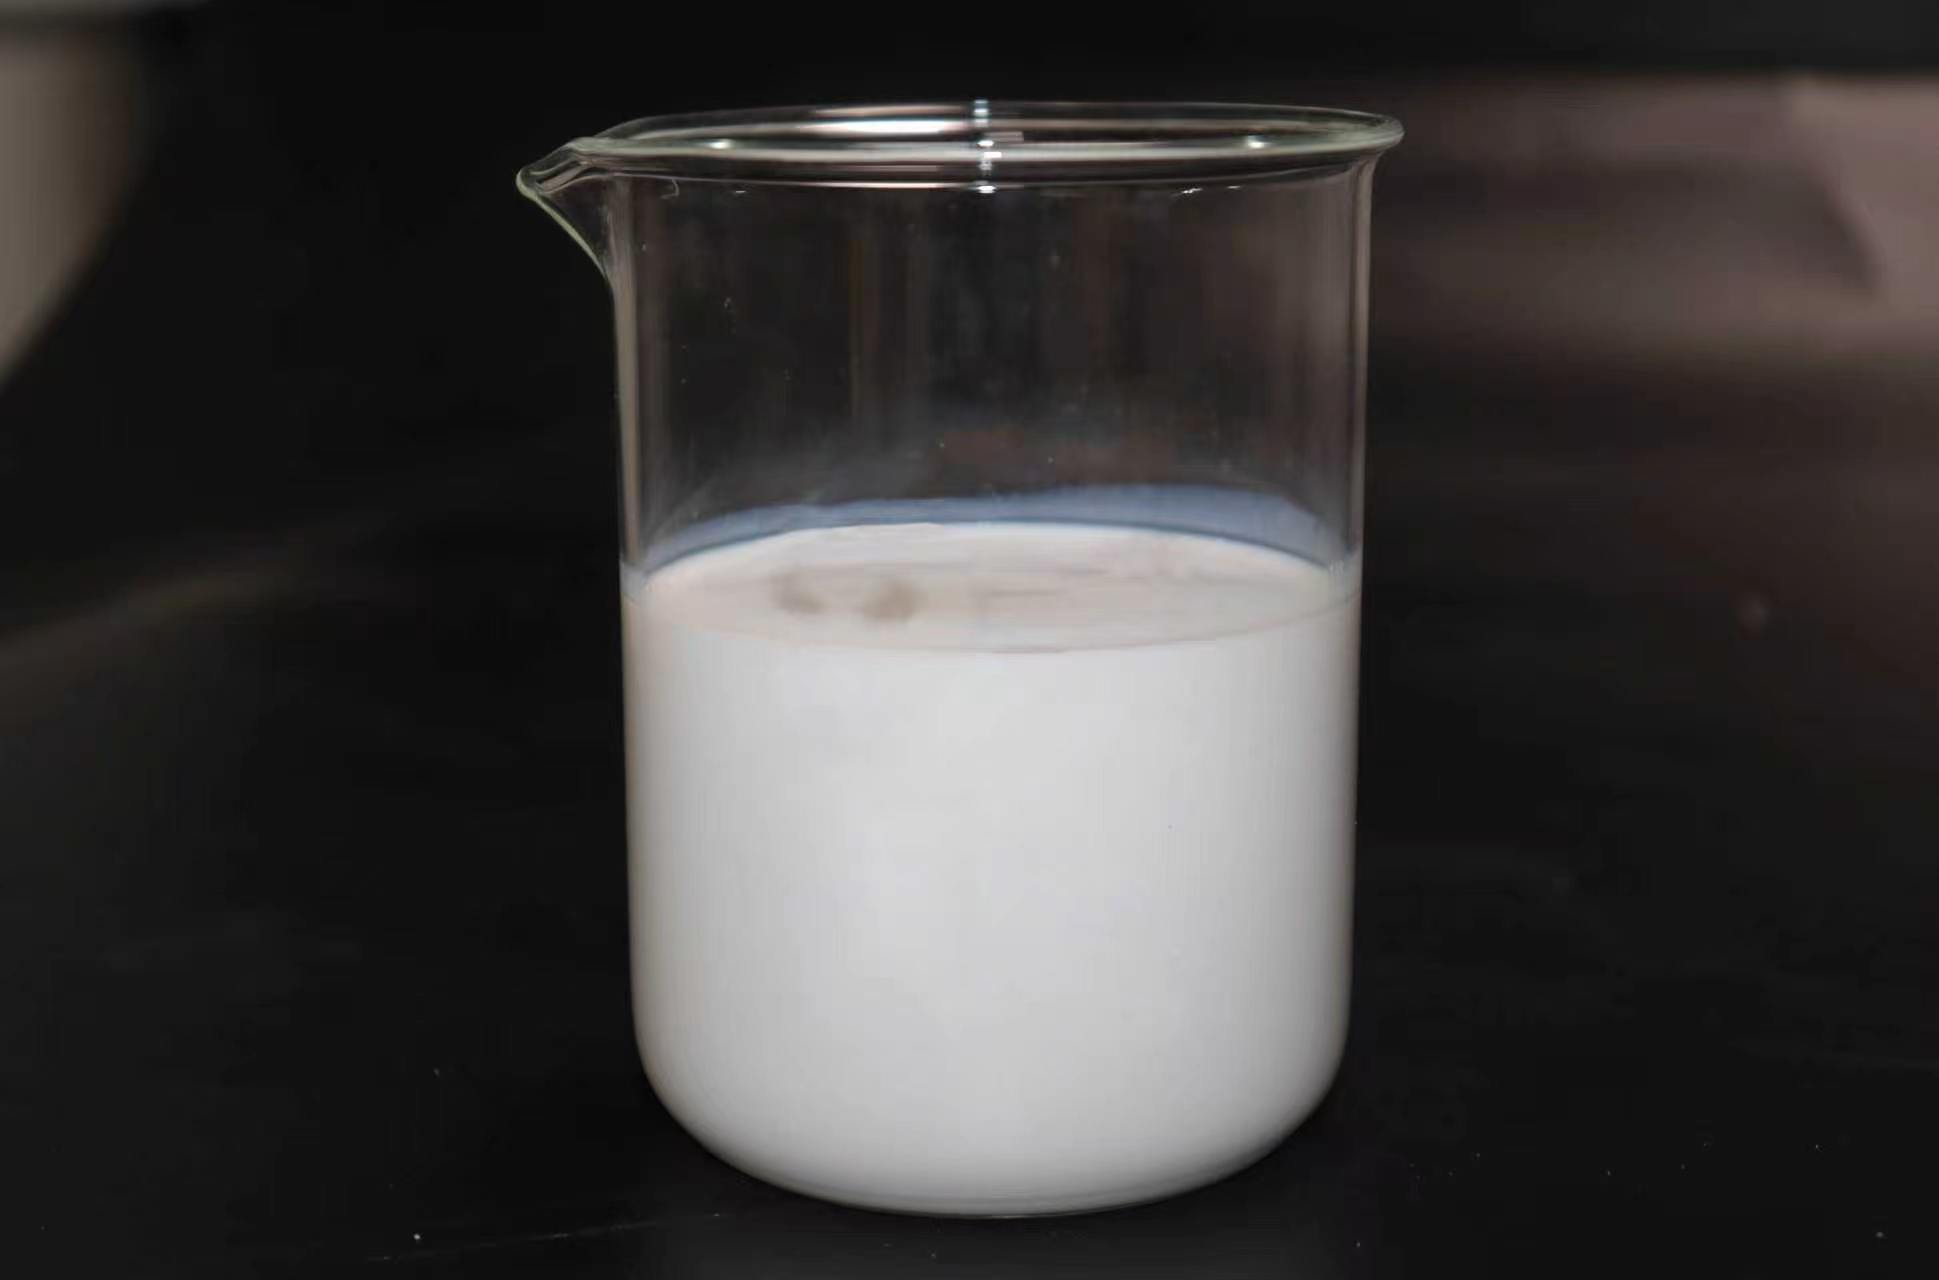
Stabilisers are broadly categorised based on the specific degradation pathway they counteract. Thermal stabilisers, for instance, are designed to prevent polymer breakdown during high-temperature processing. They function by intercepting free radicals formed when polymers are exposed to heat, thereby terminating the chain reaction that leads to scission and discoloration. Common thermal stabilisers include hindered phenols and phosphites, which donate hydrogen atoms or decompose hydroperoxides, respectively. Their effectiveness depends on the polymer matrix; for example, PVC requires metal soaps like calcium stearate to scavenge the hydrochloric acid released during dehydrochlorination.
Light stabilisers protect polymers from the harmful effects of ultraviolet radiation, which can initiate photodegradation. Hindered amine light stabilisers (HALS) are particularly effective because they regenerate their active species in a cyclic process, trapping free radicals without being consumed rapidly. UV absorbers, another subclass, work by converting UV energy into harmless heat through mechanisms like excited-state intramolecular proton transfer. Benzotriazoles and benzophenones are classic UV absorbers, but their efficiency varies with thickness and concentration; in thin films, they may be less effective unless combined with HALS.
Beyond thermal and light stabilisers, antioxidant synergists like thioesters and lactones boost the performance of primary antioxidants by decomposing hydroperoxides or regenerating the hindered phenol. Metal deactivators are crucial when polymers come into contact with copper or other transition metals, which catalyse oxidative degradation. These stabilisers form chelate complexes with metal ions, effectively neutralising their catalytic activity. The choice of stabiliser package ultimately hinges on the polymer’s end-use environment, required lifespan, and processing conditions, often demanding a tailored combination to achieve optimal protection.
Preparing the Road Surface for Application
A solid bond between the marking material and the pavement starts well before the first bucket is opened. Sweeping away loose stones and dust might seem obvious, but the real difference lies in how you handle the invisible enemies—oil spots, moisture trapped in tiny cracks, and the lingering remnants of old, worn-out paint. A leaf blower alone won’t cut it; sometimes you need to pressure wash, followed by an air compressor to chase water out of every crevice. When you rush this step, the markings will peel within weeks, frustrating drivers and your crew alike.
Temperature and humidity don’t just affect drying time—they can fool you into thinking the surface is ready when it isn’t. A pavement that’s been sitting under the midday sun might feel bone-dry on top, yet still hold enough subsurface moisture to weaken adhesion. An infrared thermometer and a quick hand-touch test across multiple spots give you the true story. On cool mornings, condensation can form a nearly invisible film that acts like a release agent. Waiting an extra half hour or using a heat lance in shady areas often determines whether the new markings last five years or five months.
Beyond cleanliness and dry conditions, the surface profile matters more than most people think. Extremely smooth or worn concrete needs a slightly textured finish for the paint or thermoplastic to grip. A light etching or a bonding primer used in narrow test strips can show you exactly how the material will behave before covering the whole lane. Similarly, older asphalt with a polished aggregate surface should be probed for soft spots and raveling. Addressing these patches early—whether by routing out a shallow recess or applying a compatible filler—prevents the marking from failing from underneath, which is a notoriously difficult problem to trace once traffic starts rolling over it.
Mixing and Application Techniques That Last
Getting a mix to hold up over time isn't just about following the label—timing and order make all the difference. Add the hardener too quickly or skimp on the stir time, and you'll end up with weak spots that crack or peel years before they should. For anything from concrete sealers to epoxy floors, we always pre-measure and then pour the smaller component into the larger while the drill is already moving. That tiny shift keeps the reaction even and prevents dry pockets that fail under stress.
On the application side, surface prep does more heavy lifting than the product itself. A quick wipe with solvent isn't enough if the substrate holds onto dust or moisture. We've seen perfectly good mixes skate right off because someone rushed the profile—roughing up the surface just enough to break the glaze, then vacuuming and tack-clothing until nothing lifts onto a fingertip. Thin, even passes beat one thick glob every time, especially if you warm the material beforehand so it flows and self-levels instead of trapping air. Let each layer cure just to the point of tack before building up; that way the bond grabs hard without needing a chemical tie coat.
Curing and Maintenance for Extended Lifespan
The longevity of any surface begins long before it sees daily use. Proper curing is the silent foundation that determines how well a material resists wear, moisture, and time. Rushing this phase might seem harmless, but subtle weaknesses develop that only become visible months later as cracks or discoloration. It’s a patient process—allowing bonds to fully form at a controlled pace, often in specific temperature and humidity conditions, without disturbance. Think of it as letting a new skin heal undisturbed; the surface needs that same grace period to reach its true strength.
Once the initial curing is complete, the shift to ongoing maintenance is where most projects either thrive or slowly fail. It’s not about aggressive cleaning rituals or overpriced sealants, but about consistency: sweeping away fine debris that acts like sandpaper underfoot, addressing spills before they etch, and knowing when to refresh protective layers. Pay attention to how the surface responds to seasonal changes—some materials expand and contract in ways that demand seasonal adjustments to your care routine. Avoid the trap of treating all surfaces the same; a one-size-fits-all cleaner can do more harm than good, stripping away essential oils or leaving behind a hazy residue that attracts dirt.
The real secret to an extended lifespan lies in reading the surface like a living thing. Notice the faint whitening that signals the early stages of wear? That’s your cue to lightly recondition before deeper damage sets in. Small, proactive steps beat major repairs every time—and they’re often simpler than we assume. A damp cloth and mild soap, used at the right moment, can outlast harsh chemical treatments. Over time, you develop an instinct for what your surface needs, and that intuition keeps it performing for decades rather than years.
Common Mistakes That Compromise Performance
Relying on the same fixed equipment setup without adjusting for the specific exercise is a subtle error that chips away at your output. For example, keeping the bench at a standard incline for all pressing movements ignores how a slight angle change can shift muscle recruitment and reduce joint stress. Small tweaks like these often go overlooked, yet they can mean the difference between plateauing and progressing. It’s not about more weight or reps—it’s about aligning the setup with the movement’s intent.
Another quiet performance killer is inconsistent breathing patterns under load. Many hold their breath at the wrong moments or fail to brace properly, which compromises core stability and power transfer. Instead of treating breath as an afterthought, it should be timed to match the demands of each phase of the lift. A controlled exhale during the concentric, paired with a full pre-lift brace, can immediately sharpen how a movement feels and performs without changing anything else.
Neglecting rest periods between sets is also surprisingly common. Shortening rest to keep the heart rate up might feel productive, but it often leads to fatigue that undercuts the quality of the work sets. Strength-focused movements need enough recovery to let the nervous system reset—otherwise you’re just practicing being tired. Paying attention to this detail ensures that each working set is truly maximal or close to it, rather than a compromised effort.
FAQ
A soil stabiliser chemically or mechanically binds the existing soil particles together, creating a hardened, durable surface that resists erosion, rutting, and dust. Unlike simply adding gravel, which can shift and wash away over time, stabilisation transforms the road bed into a cohesive layer that requires far less maintenance and provides a smoother ride even under heavy traffic or wet conditions.
Start with a soil test to understand the particle size distribution, plasticity, and mineral content. Clay-heavy soils often respond well to lime, which reduces plasticity, while sandy or granular soils benefit from cement or polymer-based binders. For a more eco-friendly option, enzyme-based stabilisers can work if the soil has enough clay and organic content is low. Always match the stabiliser chemistry to your soil's specific deficiencies.
Proper preparation is critical. First, grade the road to its desired shape and compact it lightly. Remove any large rocks, organic debris, or vegetation. If the soil is too dry, pre-wet it to the optimal moisture content; if too wet, aerate it. Accurate scarification or tilling to the specified depth is essential so the stabiliser mixes uniformly. Skipping these steps almost guarantees poor results.
After preparation, spread the calculated amount of cement powder evenly across the road surface using a spreader truck. Then use a stabiliser mixing machine (reclaimer) to incorporate it to the design depth, typically 6–12 inches, while simultaneously adding water to reach optimum moisture. Compact the layer immediately with a padfoot roller followed by a smooth drum roller. Cure by keeping the surface moist for at least 3–7 days, and avoid heavy traffic during this period. Finally, apply a light seal coat or fog seal to lock in moisture and prevent surface abrasion.
Temperature and moisture are huge factors. Applying cement-based stabilisers in very hot, dry weather can cause rapid moisture loss, leading to cracking and insufficient strength gain. On the other hand, working in rain or overly wet soils prevents proper compaction and curing. Aim for mild temperatures (50–85°F) and avoid applying stabiliser just before forecasted heavy rain. For polymer stabilisers, some require dry conditions to cure, while others need moisture activation, so always follow the manufacturer's weather guidelines.
Even stabilised roads benefit from occasional grading to redistribute loose surface material and maintain crown. Depending on traffic and rainfall, you might need to reapply a thin surface treatment every 2–5 years. However, the stabilised base can last 10–15 years or more with proper initial construction. The key is to address minor issues before they become potholes—periodic inspection is your best tool.
The most frequent errors are underestimating the amount of stabiliser needed, not mixing to the full depth, and neglecting moisture control during compaction. Many also rush the curing process or allow traffic too soon, which can ruin the surface. Another mistake is using a one-size-fits-all approach without a soil test—what works for a neighbor's clay won't necessarily work for your silty soil.
Look for someone who insists on a lab soil test before proposing a solution, asks about your expected traffic loads and drainage patterns, and can explain the difference between stabilisation and simple aggregate reinforcement. A knowledgeable contractor will talk about lift thickness, compaction curves, and curing protocols—not just spray something on and promise it'll hold. Request references for similar projects in your area and check them.
Conclusion
Choosing the right soil stabiliser for unpaved roads starts with a thorough assessment of the soil properties, traffic demands, and local climate. Laboratory tests to determine the soil’s plasticity, gradation, and mineral composition are essential before selecting from categories such as cementitious binders, lime, or synthetic polymers. Each stabiliser works differently—some form a rigid matrix through hydration, others modify the soil’s electrical double layer to reduce water absorption, and advanced polymers create semi-flexible networks that withstand repeated loading. Understanding these mechanisms helps match the stabiliser to the specific site conditions, ensuring the treated layer resists erosion, dust, and deformation over time.
Once the stabiliser is chosen, proper surface preparation and application are what truly determine long-term performance. The existing road should be shaped, scarified, and brought to the optimum moisture content before the stabiliser is evenly spread. Mixing depth, uniformity, and timing heavily influence the final strength—common errors like insufficient blending or compaction delays can trap weak zones. After application, a well-controlled curing period is vital to develop full strength, often requiring a moisture-retaining seal. Ongoing maintenance, such as re-grading and prompt pothole repair, prevents minor defects from escalating. By avoiding shortcuts in curing and staying vigilant during the early service life, road managers can double the lifespan of unpaved roads, achieving lasting performance even under heavy use.
Contact Us
Contact Person: Helen
Email: [email protected]
Tel/WhatsApp: 86 18630661160
Website: https://www.roadmilestone.com/