

Phased Array Transducer Manufacturer Guide for Reliable Inspections
2026-09-10
Every reliable inspection starts with a transducer you can trust—but not all phased array transducers earn that trust. In this guide, we break down the key factors that separate consistent, high-resolution performance from costly inconsistency: crystal quality, acoustic matching, bandwidth, and repeatability under real field conditions. If you're tired of signal dropouts and transducer replacements after just a few jobs, you're not alone. Siansonic designs phased array transducers with exactly these pain points in mind, combining rigorous testing with manufacturing precision. Dive in to learn what to look for before your next inspection.
How to Spot a Phased Array Transducer That Will Fail Early
The earliest signs of trouble usually live in the cable and connector, not the crystal array itself. When you flex the cable near the strain relief and watch the A-scan flicker or drop out intermittently, that's not a software glitch—it's a fatigued solder joint or a broken shield starting to separate. Impedance readings that wander while you gently wiggle the connector are a dead giveaway too. In the field this shows up as one specific angle or a small group of elements losing sensitivity long before the whole transducer quits.
Another quiet warning comes from your calibration routine on a known test block. If the backwall echo for a particular focal law is consistently 3 dB or more below your last verified baseline, and the scan position hasn’t shifted, don’t blame couplant or surface prep right away. Swap in a cable you trust, then look closely at the probe face under side lighting. A single dead element often forces its neighbors to overdrive, which can create odd side-lobe artifacts in the sector scan—ghost echoes that don’t match any real reflector geometry.
Physical inspection catches the failures that electrical tests miss. Run your fingertip around the seam between the housing and the acoustic lens, feeling for hairline cracks or a faint oily film. Many phased array probes are fluid-filled for acoustic matching; once that fluid starts weeping out, air pockets form and the beam profile warps. If the lens surface looks blistered, cloudy, or subtly discolored, moisture has likely already reached the internal layers. At that point the transducer is living on borrowed time, even if it still passes a quick pulse-echo check.
Reading a Datasheet: What Actually Matters for Reliability
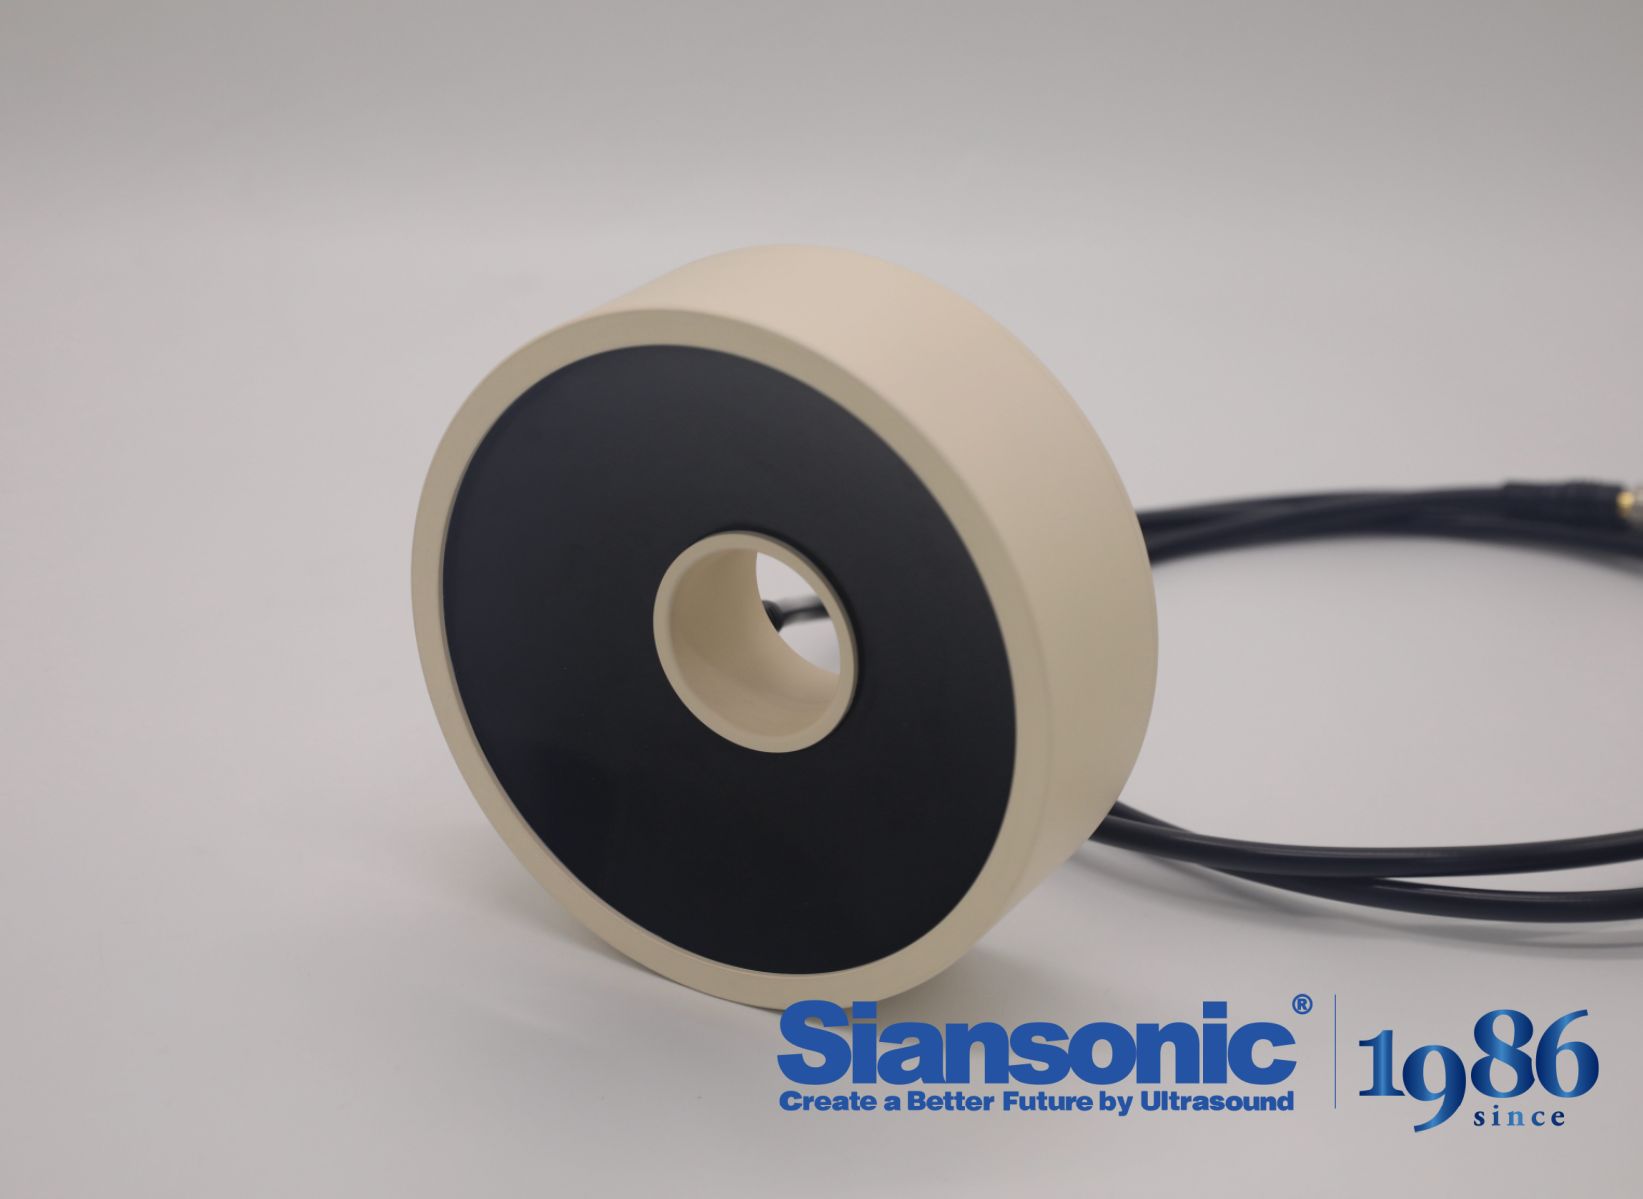
Most engineers skim the front page for a typical spec and call it a day. But the numbers that keep your product alive are rarely in the headline. Look for parameters given as min/max over the full temperature range, long-term drift, and whether the vendor commits to worst-case limits instead of hiding behind “typical” values. A datasheet stuffed with typicals and no guaranteed max often signals that nobody wanted to test the tails of the distribution.
Absolute Maximum Ratings are not operating conditions—they are the edge of permanent damage. Running close to them, even briefly, accelerates metal migration, hot-carrier wearout, and oxide breakdown. Focus instead on the recommended operating range with real derating, especially for junction temperature, supply slew rate, ESD, and latch-up current. Plenty of field failures trace back to a transient on one pin that exceeded a temperature-dependent limit, not to steady-state overload.
Pay attention to parameters that only matter once the board leaves the bench: moisture sensitivity level, thermal cycling, solder joint stress, and vibration. The datasheet won't give you a lifetime number, but thermal resistance plus power dissipation and package parasitics let you estimate junction temperature swings. From there you can reason about wire bond fatigue and solder joint life. In reliability work, the package and the thermal path usually matter more than another bit of precision.
The Hidden Trade-Offs Behind Low-Cost Probe Quotes
A probe quote that arrives far below the market average often triggers immediate excitement, but that number rarely tells the whole story. Manufacturers may strip away crucial elements such as probe tip coating, connector quality, or shielding integrity to reach a lower price point. These omissions can stay invisible during initial bench testing and only surface later as unstable readings, premature wear, or signal drift in the field.
Another hidden cost shows up in calibration and repeatability. Probes built with cheaper materials or less rigorous assembly tend to produce wider measurement spreads across batches. What looks like a one-time saving on the invoice quickly becomes additional labor for rework, extended test cycles, and higher scrap rates. In precision work, the financial loss from a single unreliable probe can easily outstrip the upfront discount.
Support and documentation also tend to shrink with low-cost quotes. Buyers may find themselves without traceable test data, limited warranty coverage, or slow technical response when a probe fails mid-project. That turns a simple purchasing decision into a long-term operational risk. Understanding these trade-offs helps engineers weigh total ownership cost rather than reacting to the lowest sticker price alone.
Field Tests That Reveal a Transducer's True Character
Pressing a transducer into real-world conditions is the only honest way to learn what it actually sounds like. A datasheet can list frequency response and sensitivity, but those numbers rarely survive contact with a drum kit, a cramped vocal booth, or a guitar cab pushed past its comfort zone. Field tests expose the quirks: how a ribbon mic handles a sudden blast of snare air, whether a condenser loses composure when a singer leans in close, or if a dynamic can keep its midrange detail when the stage volume climbs. These are the moments that separate reliable workhorses from fragile studio queens.
One of the most revealing trials involves placing the transducer in front of a source that shifts drastically in level and timbre. Take an acoustic guitar played hard with a pick, then softly with fingers. A true character microphone will track both extremes without sounding pinched or bloated. Another brutal yet informative scenario is a live rehearsal room where bleed is everywhere. If the mic still captures its intended source with clarity while rejecting enough of the surrounding mess, that is a strong sign of thoughtful polar pattern design. The best field tests are not scientific; they are musical.
Small details often surface only after weeks of daily use. Does the weight fatigue a boom stand? Does the grille dent from a single accidental drop? Is there any handling noise when a vocalist cups the mic? These practical observations matter because they shape how the tool feels in the moment of performance. A transducer might sound gorgeous in isolation, but its true character shows when it has survived a tour van, a spilled drink, and a dozen last-minute cable swaps.
Why Wedge and Element Matching Deserve More Attention
In most simulation workflows, the conversation quickly turns to mesh density and solver settings, while the quiet failures often start somewhere else: the interfaces where wedge-shaped elements meet their hexahedral neighbors. A poorly matched transition doesn't just add a few bad cells; it drags stiffness into the model in ways that no convergence plot will ever flag. Engineers can spend days refining boundary conditions only to find that a handful of distorted wedges were quietly pulling the results away from physical reality.
Part of the problem is that wedge elements are treated as a necessary evil rather than a design choice. They appear wherever geometry gets complicated, and the default impulse is to hide them in corners and hope the solver tolerates them. But element matching is not about hiding anything. It's about controlling how loads travel through those unavoidable transitions. When adjacent elements share nodes without sharing similar stiffness characteristics, local stress concentrations get invented by the mesh itself, and that's exactly the kind of artifact that gets mistaken for a real stress riser.
What deserves more attention is the simple act of auditing where wedges appear and how they connect to the surrounding mesh. A deliberate transition zone with well-shaped wedges can outperform an unstructured tet-dominant fill, yet few teams take the time to compare that trade-off. The tools exist to visualize and correct element matching, but they rarely get used until something goes wrong in validation. By then, the more expensive lesson is already learned: the credibility of a simulation often lives or dies in the elements nobody wanted to look at.
What a Manufacturer's Warranty and Support Really Tell You
The fine print on a warranty card often speaks more honestly than any advertisement. A document that promises five years on the motor but only one year on the electronics is quietly telling you where the weak points are. Manufacturers embed their risk assessments in the terms, and a careful reader can steer clear of designs with built-in vulnerabilities.
The wait time on a support line and the technical competence of the agents reveal just as much. If every call means navigating a labyrinth of menus or talking to someone who only suggests rebooting the device, it signals a company that has underinvested in after-sales care. By contrast, a brand that quickly connects you to a real engineer with a specific fix is confident in its product and willing to protect its long-term reputation.
FAQ
Look for a maker that shares actual field performance data, not just polished spec sheets. A reliable manufacturer will also be upfront about wear life, repairability, and how their transducers behave at temperature extremes.
Check the duty cycle rating and ask for examples from similar inspection environments. Heat buildup at high pulse rates often kills transducers before acoustic damage does, so cooling design and backing material matter more than peak specs.
Not necessarily. More elements can improve steering and focusing, but they also add complexity, cost, and failure points. The right count depends on your coverage requirements and whether the wedge or delay law can be maintained properly.
Ask how the connector is sealed against oil, water, and dust, and whether the cable strain relief is designed for repeated flexing. A transducer can be excellent acoustically and still fail early because of a cheap cable boot.
Often yes, but you need to trade off frequency and aperture. A 5 MHz, 64-element probe with a suitable wedge can cover many common weld configurations, but very thick or coarse-grained materials will still require a different setup.
Watch for rising dead element counts, changes in sensitivity, or a shift in the beam profile during calibration. If the wedge is scarred or the lens is delaminating, you'll see inconsistent coupling even if the crystal itself is fine.
Certificates give a baseline, but they don't guarantee the transducer will stay that way after shipping and handling. Always do a quick sensitivity and element check on arrival, and then re-verify at the start of each job.
Interchangeability and spare parts. If you buy a probe with a custom connector or wedge, you might wait weeks for a replacement. Standard interfaces and easily swappable wedges keep your inspection schedule safer.
Conclusion
Spotting a phased array transducer that will die young isn't about luck—it's about reading the physical and electrical signs. Check the connector strain relief first; if it's rigid or poorly bonded, cable flexing will eventually break internal wires at the solder joints. On the datasheet, ignore marketing adjectives and focus on pulse duration, -6 dB bandwidth, and inter-element crosstalk. A narrow bandwidth or excessive crosstalk means poor acoustic uniformity, which translates into inconsistent sensitivity across the array. Low-cost quotes often hide the real story: cheaper piezoelectric ceramic with lower Curie temperature, thinner matching layers that degrade faster, and housing seals that let moisture in after a few thermal cycles. Those aren't theoretical risks—they are the most common reasons probes fail during routine weld inspections.
Before trusting any new transducer, run a simple ring-down test using a flat reflector; the pulse should be short and symmetric with minimal trailing oscillations. If you see long tails or irregular element-to-element amplitude variation, that probe will struggle on anisotropic materials or small flaws. Wedge selection is equally critical—an improperly matched wedge causes beam steering errors and back-wall reflections that mimic defects. Look for wedge manufacturers who specify acoustic impedance matching and include sealed, replaceable wear plates; cheap wedges delaminate at the interface and destroy the transducer face. Finally, read the warranty language carefully. A manufacturer that covers element failure and sensitivity drift for three years or more, and offers direct engineering support during procedure qualification, is signaling confidence in their build quality. Reliable inspections depend on that level of accountability far more than on a polished spec sheet.
Contact Us
Contact Person: Ivy Zhang
Email: [email protected]
Tel/WhatsApp: +86 1081502288
Website: https://www.siansonic.com/