

Custom Abrasive Paper Tips for Smooth and Even Sanding
2026-09-09
Most sanding mistakes aren't caused by poor technique—they start with paper that doesn't match the surface. Custom abrasive paper can eliminate nearly all of the uneven scratches, clogging, and over-sanding that slow you down, but only if you choose the right grit, backing, and coating for the job. Below are the field-tested tips our team uses to get smooth, consistent finishes across wood, metal, and composites. For tailored abrasive solutions that hold up over long runs, SHENZHEN SUN ABRASIVES offers fast customization without the guesswork.
Grit Sequence Mistakes That Ruin Smooth Finishes
The biggest finish killer is jumping grits too aggressively. Going from 80 to 220 feels like a time-saver, but all it does is leave deep 80-grit scratches hiding under a surface that looks smooth when it's dry. Once stain or clear coat hits, those valleys show up instantly. Stick to a steady progression—80, 120, 180, 220—and don't skip more than one step at a time if you can help it.
Another common mistake is using sandpaper long after it's stopped cutting. People press harder to compensate for a dull disc, which creates uneven pressure spots and loads the paper with gunk. That gunk then gets smeared across the surface, acting like a fine abrasive in some areas and nothing in others. Change paper the moment you feel it glide instead of bite.
Dry sanding between coats without wiping down the surface is a hidden issue. Dust from previous grits acts like a coarser abrasive when you move up, so you end up sanding the finish with the same particles that scratched it earlier. A quick tack cloth or damp rag pass between each grit makes a bigger difference than most people expect.
Hand-Sanding Curves Without Flat Spots
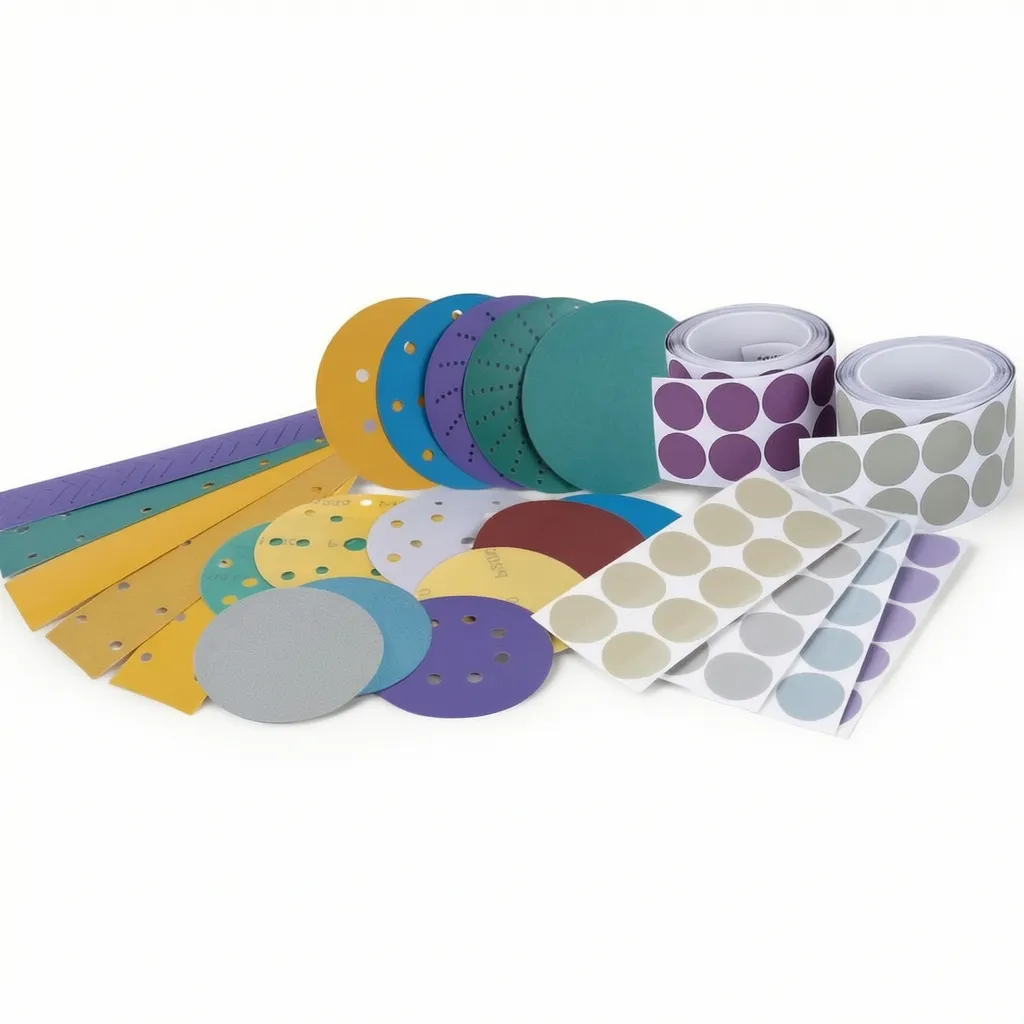
When you work a curved profile with a stiff block, the flat face naturally bridges the high points and skips the low ones. That is how a gentle radius slowly turns into a series of facets. A better approach is to let the abrasive follow the shape instead of forcing the shape to meet the abrasive. Use a foam pad, a piece of cork, or even a folded strip of cloth-backed paper for tighter bends. Keep the pressure light and move in short, overlapping strokes that travel with the curve rather than straight across it.
For most convex curves, tilt the sanding pad slightly so only the leading edge cuts, then roll your wrist as you move. This blends the tangent line continuously and avoids dwelling in the hollows. On concave areas, wrap the paper around a dowel or a section of hose close to the radius. Check the surface often with a low-angle light or by running your fingertips along the line. If you feel a flat stop, shift to a smaller backing and work the transition until it disappears into the curve.
There is no single grit sequence that fixes a flat spot once it appears. You have to remove the surrounding material until the radius is true again. Start with a coarser grit than you think you need, but only on the affected area, then blend outward. After that, go back through your normal progression. The goal is to keep the curve continuous, not to polish a series of straight sections until they look round.
Prepping Surfaces to Prevent Swirl Marks
Most swirl marks don't come from polishing alone—they start with what's already sitting on the paint. Before you touch a buffer, wash the panel with a pH-neutral shampoo and plenty of water. Follow up with a clay bar or a synthetic clay mitt to lift embedded grit. If you skip this step, any leftover contamination will get dragged across the clear coat the moment a pad touches it.
After mechanical decontamination, wipe the whole area with a prep spray or isopropyl alcohol diluted to about 10–15%. This removes polishing oils, waxes, and silicone that can hide fine scratches or make the pad slip unevenly. Use a clean, plush microfiber towel and flip it often. Even a tiny bit of dried compound on the towel can carve fresh swirls into the work.
Work under a bright, angled light—ideally a handheld swirl finder or a focused LED. Move it across the surface from different directions and mark any defects with tape. The better you map out the true condition of the paint before you start, the fewer surprises you'll face and the less chance you'll over-polish an area trying to fix marks that were caused by poor prep.
Backing Materials That Flex Instead of Fight
In abrasive applications, the backing material often determines whether a disc or belt hugs a curved surface or skips across it. Stiff backings fight the operator, forcing uneven pressure and leaving flat spots on rounded edges. Flexible cloth or film backings, by contrast, yield just enough to follow the contour. That small amount of give prevents the abrasive grains from gouging while still transferring enough force to cut efficiently.
The same principle shows up in medical tapes and wearable adhesives. A rigid backing tugs at the skin with every movement, causing irritation or peeling at the edges. Breathable, stretchable backings move with the body, distributing stress across a larger area. Instead of resisting motion, they absorb it, which keeps the adhesive bond intact longer and feels far less noticeable to the wearer.
Choosing a material that flexes rather than fights isn't just about comfort—it's about function. A backing that can elongate slightly under load returns to its original shape without permanent deformation, so it maintains consistent performance over thousands of cycles. This elastic recovery, often overlooked in spec sheets, is what separates a product that works on day one from one that still works on day one hundred.
Wet Sanding Tricks for a Glass-Like Surface
Wet sanding works best when the surface stays consistently slick. Mix a few drops of dish soap into clean water, dip your sandpaper often, and start with 1500-grit before moving to 2000, then 3000. The soap reduces drag and helps the paper glide instead of biting, which prevents deep scratches from forming early on.
Wrap the sandpaper around a flexible foam pad or even a folded microfiber cloth rather than a hard block. This distributes pressure more evenly and lets you follow slight contours without cutting through the clear coat. Sand in straight, overlapping strokes, then switch direction on the next grit. After each stage, wipe the panel dry and look for shiny spots that still reflect light; those areas need more attention before you move up.
Once the surface has a uniform matte haze, switch to a finishing polish on a soft foam applicator. Work in small sections with light pressure until the gloss comes back. Avoid spending too long on edges and ridges where the coating is thinnest. A final wipe with a damp microfiber cloth will reveal whether any dull patches remain, and if they do, drop back one grit and repeat that small area rather than forcing the polish to do the correction.
The Sanding Habit That Causes Uneven Wear
Most people assume that pressing harder while sanding will speed things up, but it actually does the opposite for evenness. The extra pressure makes the abrasive bite deeper in the center of the pad while glazing over the edges, leaving shallow grooves you can feel with your fingertips long after the dust clears.
A more subtle version of the same problem is always sanding in one direction or following the same overlapping path on every pass. Over time, those repeated strokes wear down specific lanes while skipping the lows between them. If you flip the workpiece under a raking light, you'll see bright ridges and dull valleys that no amount of finish will hide.
The fix isn't complicated: keep the pad flat, let the grit do the work, and change your stroke pattern with each grit change. Sand across the previous direction at least once, and check your progress with a straightedge instead of your eyes. Even wear comes from consistent, patient movement—not from force or habit.
FAQ
Start around 80 or 100 to remove tool marks, then move to 150, then 220. Skip no more than one grit level at a time. On softer surfaces, stop at 220 or 320; on harder finishes, 400 and above can create a near-polished base.
Those usually come from leftover coarse grit particles or dirty paper. Wipe the surface between grits and wash or blow off the paper before switching. Also check your backing pad—dust trapped underneath acts like extra abrasive.
Only if the paper is labeled wet-or-dry and the backing is waterproof. Use a light spray of water or a few drops of honing fluid. Keep the surface damp, not soaked, and dry it off completely after sanding to prevent rust or wood swelling.
Cloth or flexible film backing hugs curves without cracking. Paper backing is fine for flat boards. For deep profiles, use a soft interface pad between the paper and your sanding block to spread pressure evenly.
Try a stearated or anti-clogging paper. If you only have standard paper, sand at a slower speed, use lighter pressure, and clean the surface with a rubber stick or old sole every few passes. A quick wipe with mineral spirits before sanding also helps.
Yes—work across the previous scratch pattern, not parallel to it. This makes it easier to see when the old marks are gone. Finish with the grain on the last grit to hide any remaining fine lines.
Keep sheets in a sealed plastic sleeve or folder, laid flat with a piece of cardboard behind them. Avoid hanging or rolling them. Store away from heat sources and direct sun, which can make the adhesive brittle or curl the backing.
Conclusion
Skipping grits seems like a time-saver until the finish turns cloudy. Going from 80 straight to 220 leaves deep scratches that no amount of topcoat will hide. Instead, step up gradually—80, 120, 180, 240—and let each stage remove the marks from the one before. On curved edges, rigid blocks create flat spots; a flexible backing pad or a folded piece of the custom abrasive paper lets the abrasive follow the contour rather than fight it. Before you start, wipe the surface clean and check for leftover dust or loose fibers. Any debris trapped under the paper gets dragged across the work and leaves swirl marks that show up under bright light.
Backing material matters more than most people think. A stiff foam or rubber pad spreads pressure evenly, while hard backings concentrate force on high spots. For the final pass, switch to wet sanding with a few drops of water and a high-grit paper. The water carries away swarf and keeps the surface cool, which makes the difference between a hazy finish and one that looks almost glass-like. Finally, break the habit of pushing too hard on one area. Uneven finger pressure wears the abrasive unevenly and creates low spots that are nearly impossible to fix later. Move in long, overlapping strokes and rotate the paper often so the cutting edge stays fresh across the whole surface.
Contact Us
Contact Person: Amanda Wang
Email: [email protected]
Tel/WhatsApp: +86-13602569854
Website: https://www.sunabrasives.com.cn